In this post, we’ll go over a few best practices for tool care.
The dental lab can be a harsh environment. There’s always a lot going on, and it’s easy to lose track of things. When it comes to tools you need them to be trouble free and reliable. While the large part of that reliability comes from using quality tooling, the other part is in your hands. There are a few things you can do to ensure the longevity of your tooling.
Storage:
Always store your tooling in its original packaging.
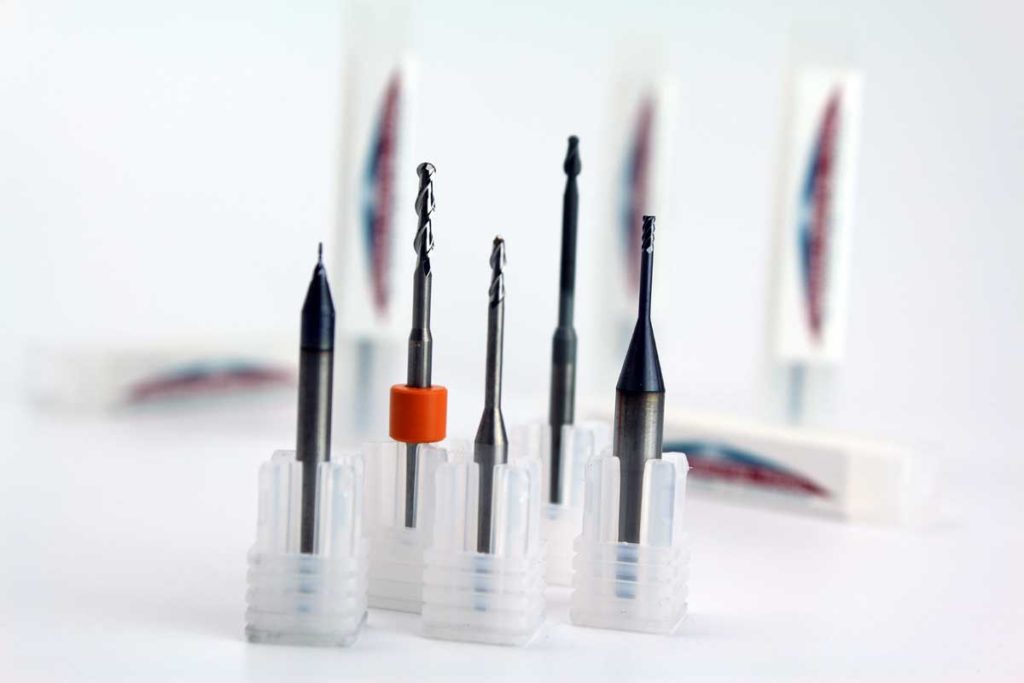
I’ve certainly been guilty of throwing a pile of them in a drawer to use later, but that’s a quick way to mess them up. If they bang into each other the cutting edges can be damaged. Damaged tools may still cut, but the life will be drastically reduced.
Cleaning:
For a tool to perform at its peak ability, it should be clean.

We recommend cleaning tools every 70-80 units and whenever you switch from one material to another. Some materials (i.e. high resin content wax) will tend to stick to the tool when milling. It’s important to remove that build up to ensure the tool can perform properly.
Please check out our post on cleaning technique for more information.
HERE (link)
Handling:
When you’re holding a tool, always hold it from the shank (opposite the cutting) side.
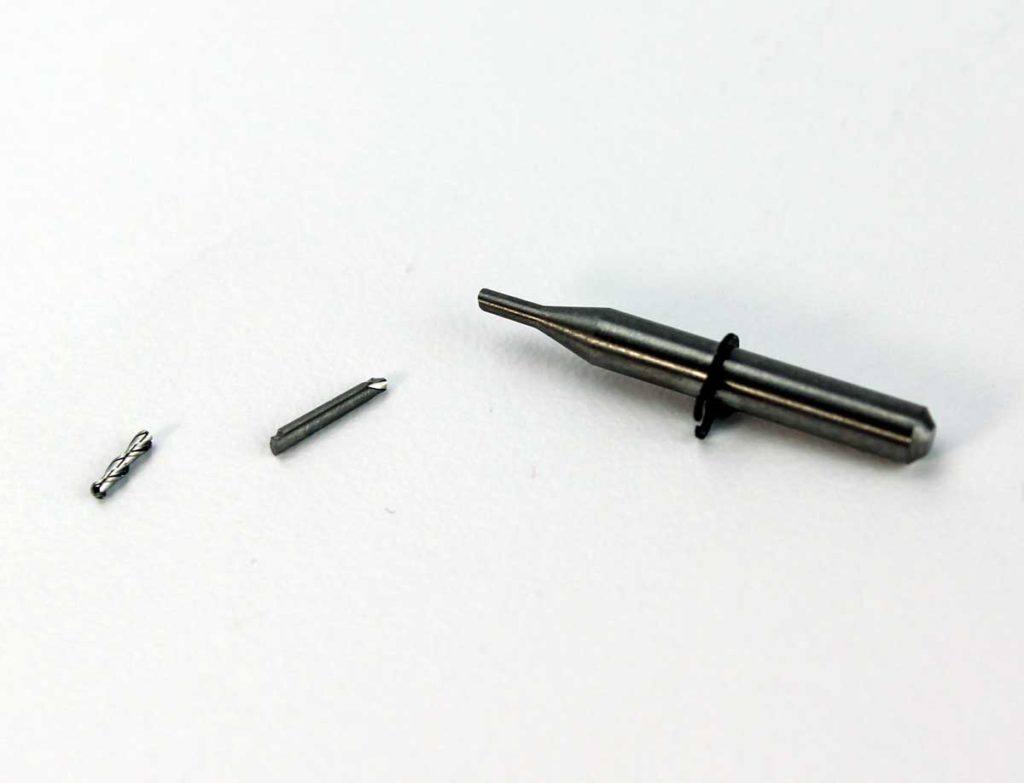
Carbide is a great material to make a tool from. It’s very hard and long wearing. Especially when it’s combined with a good coating. However, that doesn’t mean that the material is bulletproof. In fact, it’s much the opposite. Carbide is a very rigid material that doesn’t like to flex. Some of our dental tools are thin and fragile. Tools can be broken or damaged just by dropping them or even holding them incorrectly. I know I’ve ruined a few myself. Next time you have a spent tool in your hand (1mm or smaller) try to snap it in your fingers. You’ll be amazed by how easy it is.
Installation:
When you install a tool into your machine, be mindful of the tool’s cutting tip.
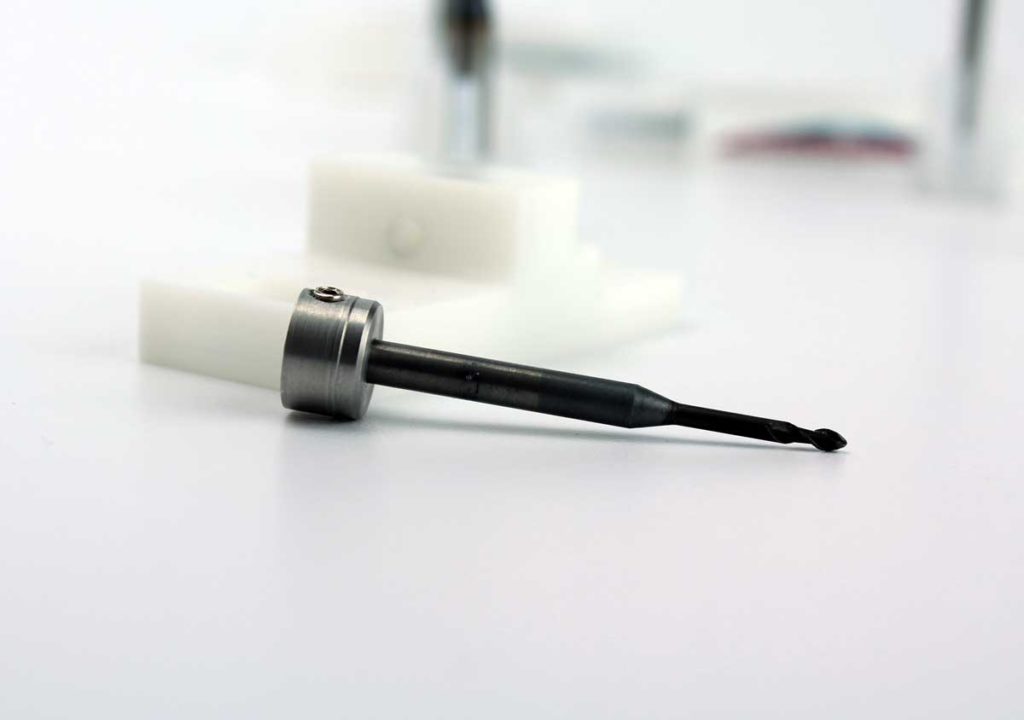
It’s easy to hit the tool’s tip on the tool holder when you are changing it out. Make sure you insert the tool straight down without hitting it on anything. Use the same mindset you would playing the game “Operation” — except don’t worry about the electrical shock.
Some machines require the user to install a metal collar prior to using the tool. Always install the collar from the shank first. That way you don’t run the risk of damaging the cutting edges.
Conclusion:
When you make the investment in quality tooling for your milling machine, you are investing in your own reputation. Good tools take care of you if you take care of them.