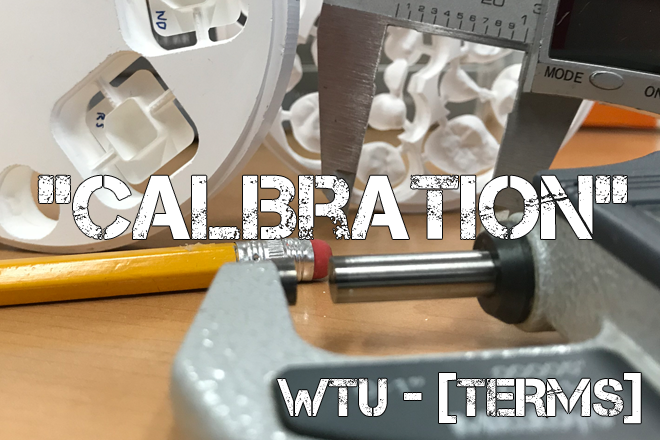
[kal-uh-brey-shuhn]
What is “Calibration”?
Calibration is the comparison of values produced by a machine to a known standard of accuracy. Like any sensitive piece of equipment, modern dental CNC machines need to be calibrated in order to produce good milling results. All machines in our industry have some sort of calibration protocol. Usually, this involves milling a part of known geometry and taking measurements along the part’s surface. Those measurements are then compared to a set of known values, and the machine will calculate an offset value to compensate for any error.
Interesting Details about “Calibration”:
Follow your reseller’s recommendations
We can’t make a blanket statement on how often to calibrate because there are so many systems out there. However, your reseller will have a recommendation for you. These recommendations are minimums. You really can’t calibrate your equipment too often. It’s up to you to strike a balance between production and keeping up with the minimum recommended interval. There are a few reasons to calibrate more often:
- You are a high production lab – the more miles you put on your machine, the more it will need upkeep.
- The machine is misbehaving – Margin chipping? Weird lines? The first step in any troubleshooting process should be a clean calibration.
- Your machine is in an environment with fluctuating ambient temperature – temperature swings will cause the machine to expand and contract, which can throw off the calibration. If your lab has temperature swings of more than 15-20 degrees Fahrenheit, you should calibrate more regularly.
Factory calibration vs user calibration
It’s worth mentioning that most systems have two separate calibration protocols. The first one you are probably familiar with, that’s the user calibration. The user calibration is simple, and easy to use. It gets the job done most of the time. For more difficult issues, the service personnel who work on your machine usually have access to a second, higher level calibration. This is more complicated but offers the technician far more control over the behavior of the machine.
Use the right tool for the job
The calibration of your machine is only as good as the measuring tool you use. Many people in our industry don’t consider this. It’s far too common to see a lab using a $20 digital caliper to calibrate their $100k machine. There are a lot of cheap calipers on the market, and you do get what you pay for. When you’re shopping for calipers look at two things: accuracy and repeatability. Low end equipment will not do well in either of these – typically they have an accuracy of +/- 0.02mm, and do not repeat very well at all. On the other end of the scale, you can’t go wrong with a Mitutoyo caliper. This one is accurate to +/-0.001mm and will repeat wonderfully.
Use good technique when measuring
The other aspect to consider when measuring your calibration part is technique. Poor technique will get you poor and unreliable results. We recommend these rules of thumb:
- Always zero your caliper before using it
- Measure using the same place on the caliper’s jaw every time. if you vary the surface used on the caliper, it is possible to introduce some error.
- Make sure that both the part, and calipers are clean before measuring.
- Don’t over pressurize the measurement. You can squeeze the milled part and produce an inaccurate measurement.
Sometimes you need to calibrate more than once
The further out of calibration that your machine is, the less likely it will compute perfect offsets the first time around. If you have a machine that requires significant adjustment to get close to calibrated, it’s good practice to calibrate again – until you get two repeated results close to ideal.
Thanks for reading! We hope this break down of the term “Calibration” has been of value. Stay tuned next week for another post like this!
Check out the growing list of WeTeamUp Terms posts HERE

