Goal: Avoid damage to the milling bur during installation
Loading burs into your machine is when you’re most likely to damage them. In this post, we’ll look at a few things you can do to avoid accidental damage to your Roland milling bur.
Many lab techs don’t know that the tip of a bur is delicate
The tungsten carbide that burs are made from is a very tough material. However, the shape of the material at the edge makes it susceptible to damage. The right impact can cause small defects in the cutting edge of your milling bur. These defects will drastically shorten the life of your bur. If you want to go in depth on that check out our post here: “Damaging Milling Burs: For Science!”
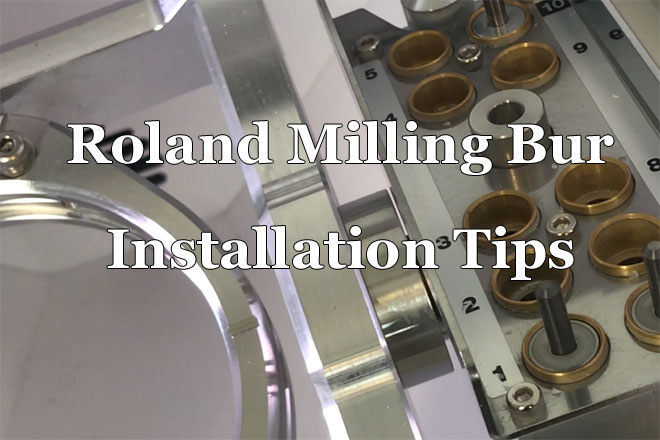
Roland milling bur install tips:
These tips apply to Roland DWX-50, DWX-51d, and DWX-52dc
- Be careful of the tip of the bur
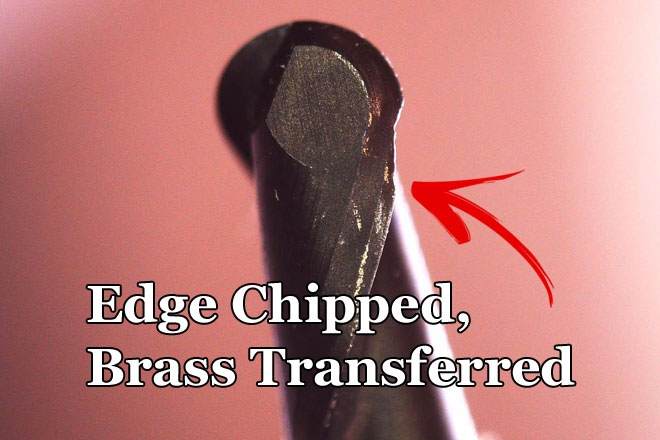
It’s good to be generally mindful of where the tip of the bur is at all times. It’s easy to hit it on a variety of surfaces if you’re not aware of it. All it takes is one hit at the right angle to chip your bur.
- Load the collar shank first
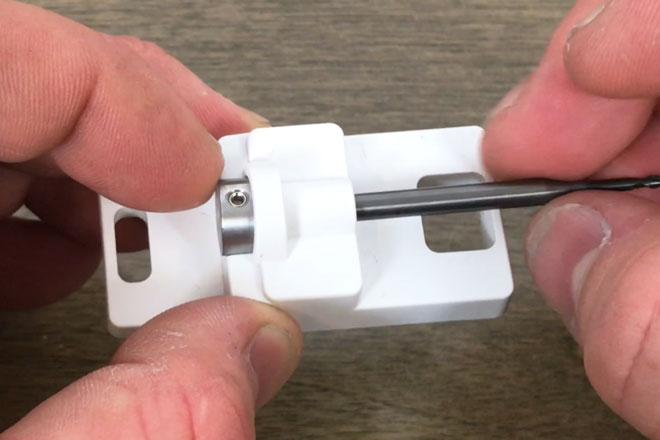
When you are attaching the metal collar to the bur, always make sure you insert the bur shank (machine side) first. This way you avoid dragging the cutting edge of the bur across the metal collar
3. Gently lower the bur into the holder
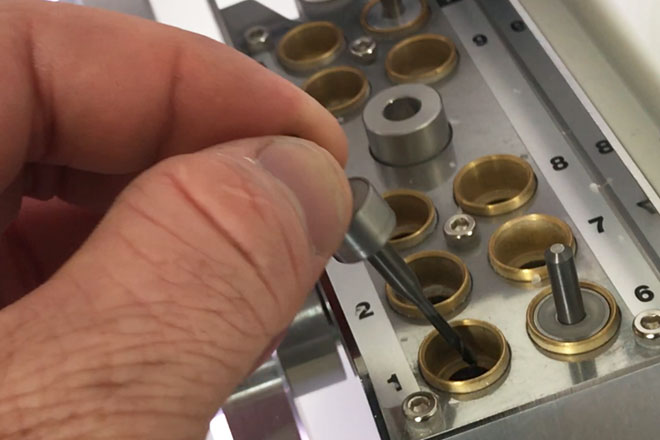
Once the bur is ready to insert into the machine’s holder, make sure that you center it in the holder before you push down. If it’s off center, it can hit the side or floor of the holder and damage the tip. Once it’s inserted, double check that it’s seated straight.
Conclusion
If you follow these simple tips when loading new Roland milling burs, you can reduce the chances of any damage happening to the bur. This is added insurance against early bur wear.