[gee-kohd]
What’s “g-code”?
G-code is a text-based language that’s used to control all types of CNC machines. When your milling machine is running a program, it’s reading a g-code file with instructions that tell it where to move, how fast to do it, and what to do along the way. There are a few different types of machine code, but the term “g-code” is commonly used to refer to all of it. It can help to have a basic knowledge of g-code to expand your ability to self-troubleshoot and reduce reliance on outside support.
Interesting Details about “g-code”:
-
How it works:
Milling programs are generated by your CAM (nesting) software. The CAM software turns the 3d file of your unit into numerical g-code for the machine to read. The program can have thousands of individual lines of code. Each command line is based on a letter/number combination. The letter denotes the type of command, and the number indicates the command itself. The machine reads these commands line by line in sequence to carry out the milling program.
-
Some code breakdown:
Codes beginning with “G” are preparatory functions – they tell the machine to do a specific task, like setting work offset or telling it to move in a straight line to a given coordinate in space. M codes are miscellaneous codes. They are usually used to turn something on or off during the milling program, like compressed air, vacuum, or coolant. F codes are used to set the speed the mill moves at, in mm/min. S codes set the rotational speed of the spindle (RPM).
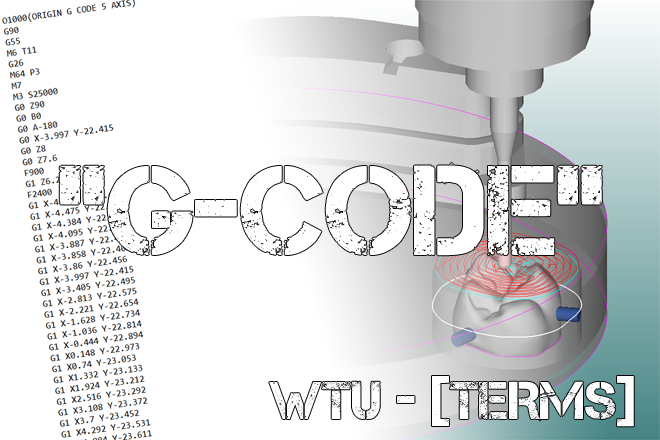
The example below is the beginning of a typical milling program. Included are corresponding codes/actions – code in black, comments in [brackets] (code generated by SUM3d, for an Origin machine).
G90 [Absolute Positioning: all coordinates are referenced from the home (0,0,0) position]
G55 [This is the work offset. It tells the machine where “Home” for the given program is located]
M6 T1 [Machine to pick up tool #1]
M64 P3 [Vacuum on]
M7 [Compressed air on]
M3 S25000 [Spindle on, 25000 rpm]
G0 Z90 [Move to safety clearance position Z axis]
G0 A-180 [Flip the A axis over 180 degrees – this program starts milling on the bottom]
G0 X-3.997 Y-22.415 [Move to toolpath beginning position for the program X,Y axis]
G0 Z8 [Move to toolpath beginning position for the program Z axis]
G0 Z7.6 F900 [Move Z axis to engage the material, and start cutting at a feed rate of 900mm/min]
F2400 [Set feed rate to 2400mm/min]
G1 X-4.398 Y-22.404
G1 X-4.475 Y-22.429
G1 X-4.384 Y-22.476
G1 X-4.095 Y-22.514
G1 X-3.887 Y-22.489
G1 X-3.858 Y-22.461
G1 X-3.86 Y-22.456
G1 X-3.997 Y-22.415
G1 X-3.405 Y-22.495
G1 X-4.398 Y-22.404
G1 X-4.398 Y-22.404
[Now the machine is running the first tool. This stage will be followed by hundreds of lines of code that will guide the tool through space to shape the part. Each line of code represents a new point in space given in coordinates relative to the work offset. This operation will be followed by several more for each tool, which will eventually result in a completely milled unit.]
-
Codes used vary based on machine type, make/model.
Depending on the manufacturer of the machine, the code/language can be different. However, the principal is the same. If the CAM software and the machine are speaking the same g-code language, everything will work fine. For this reason, programs for one machine are not necessarily compatible with another machine.
Thanks for reading! We hope this break down of the term “g-code” has been of value. Stay tuned next week for another post like this!
Check out the growing list of WeTeamUp Terms posts HERE